Home
Home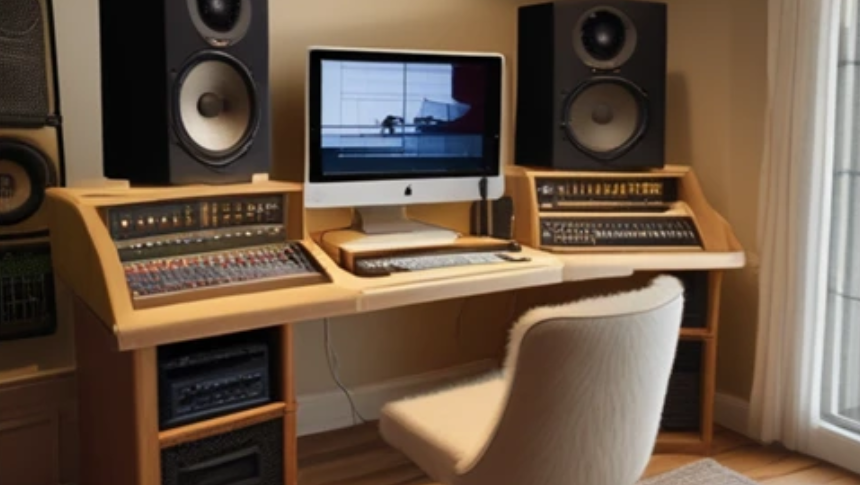
Building a home recording studio may sound too good to be true, but with all the options for available today, it’s far from impossible. It’s a dream for many musicians and audio enthusiasts, as it gives you the freedom to create music on your own terms, without the constraints of commercial studios. However, it requires careful planning, investment and technical knowledge to achieve professional-quality results.
If you’ve been thinking about building your very own recording studio at home, this guide will walk you through some essential steps, the differences between home and professional studios and how to make yours worthwhile.
Why Build a Home Recording Studio?
Many musicians would love to have a home recording studio because of its flexibility and cost-effectiveness, especially given the prices of recording studios in London. Unlike traditional commercial studios, a home studio allows you to work on your music projects at your own pace.
This freedom is invaluable for musicians and producers who want to experiment, rehearse and refine their work without time constraints.
A home studio also allows you to develop your production skills and build a personal music library. You can experiment with different sounds, techniques and genres without the pressure of commercial deadlines.
As you gain experience, you can gradually upgrade your equipment and refine your studio setup to meet your evolving needs.
Home Recording Studio vs Professional Recording Studio
There are distinct differences between a home music recording studio and a professional one.
A professional recording studio is designed to meet the rigorous standards of the music industry, which means some serious investment in soundproofing, acoustics, and high-end equipment. A home recording studio, on the other hand, can range from a basic setup for hobbyists to a more advanced space for serious music production.
While it may not have the same level of sound isolation and equipment as a professional studio, a well-designed home studio can still give you some high-quality results.
Take a look at the table below to compare the main differences between the two.
| Feature | Home recording studio | Professional recording studio |
| Sound treatment | Basic acoustic panels and foam, often DIY | Extensive acoustic treatment, including isolation booths and soundproofing |
| Equipment | Mid-range audio interface, microphones, and DAW | High-end preamps, compressors, outboard gear, and professional-grade microphones |
| Space | Dedicated room or converted space | Large, acoustically treated room |
| Engineer | Often the musician themselves | Dedicated sound engineer |
| Cost | Varies greatly depending on equipment and setup | Significant investment in equipment and soundproofing |
| Purpose | Hobbyist, demos, songwriting | Professional recording, mixing, and mastering |
| Sound quality | Good for home listening | Professional-level sound quality |
| Flexibility | High, work on your own schedule | Less flexible, often requires booking time |
What Recording Equipment do I need for a Professional Home Recording Studio?
Building a professional recording studio at home requires a combination of hardware and software. While the specific equipment may vary depending on your musical style and budget, some essential components form the backbone of any studio setup.
Here’s a handy home recording studio equipment list you can use to give you an idea of what you may need:
- Computer: A powerful computer with sufficient processing power and storage is essential for handling audio software and large audio files.
- Digital Audio Workstation (DAW): This software is the heart of your studio, allowing you to record, edit, mix and produce audio. Popular options include Logic Pro, Ableton Live, and Pro Tools.
- Audio interface: This device connects your microphones, instruments and other analogue equipment to your computer. It converts analogue signals into digital format for recording.
- Microphones, cables and stands: Essential for capturing sound sources, including vocals, instruments and acoustic spaces.
- MIDI controller: Used for controlling virtual instruments and recording MIDI data.
- Headphones and studio monitors: Accurate monitoring is crucial for mixing and producing music. Studio monitors provide a balanced soundstage, while headphones are useful for mixing and editing.
- Acoustic treatment: Acoustic panels and bass traps are essential to control sound reflections and improve room acoustics.
10 Steps to Building a Professional Home Recording Studio
- Choose the right space: Select a quiet room with the least amount of external noise and good acoustics. Consider things like size, shape and insulation.
- Piece together a PC: Build or purchase a computer specifically for audio production, with sufficient RAM, storage and processing power.
- Select an appropriate interface for your studio: Choose an audio interface with the number of inputs and outputs to match your equipment. Consider factors like quality, latency and features.
- Install your digital audio workstation: Set up your chosen DAW and familiarise yourself with its features and workflow.
- Get the right cables for mics and load the microphones: Connect your microphones, instruments and other equipment to your audio interface using the appropriate cables.
- Investing in acoustic treatment: Install acoustic panels and bass traps to control reflections and improve sound quality.
- Setup a MIDI keyboard: Connect your MIDI keyboard to your computer and configure it with your DAW.
- Soundproof your room: If needed, add soundproofing materials so you don’t drive your neighbours mad and improve isolation.
- Ventilate and cover: Ensure proper ventilation and cable management for a safe and organised workspace.
- Pick your recording software: Choose a DAW that suits your workflow and budget. Keep things in mind like features, compatibility and user interface.
Deciding to build your very own home recording studio can be really exciting but can become easily overwhelming. Hopefully, this guide can help you organise the most essential things you need to consider before starting this big project. By following these steps and considering the essential equipment, you can create a space that can spark creativity and produce high-quality recordings.
With your very own music home studio setup, you can be on your way to diving deeper into your love for music and maybe even creating the next big hit.
FAQs
1. What makes a good professional recording studio?
A successful recording studio has great acoustics, equipment and an expert to manage it all. Optimal sound quality, achieved through careful room treatment and high-end gear, is paramount. Essential elements also include proper soundproofing and high-quality microphones and preamps.
2. What are some effective recording studio design tips for optimal sound quality?
Use sound-absorbing panels and bass traps to control reflections and reduce unwanted echoes. You can also experiment with different room layouts and microphone placements to find the best sound. Proper ventilation and cable management are also crucial for a functional and safe studio environment.
3. Is a professional recording studio profitable?
The profitability of a recording studio depends on various factors, including location, target market, pricing strategy and business management. Offering additional services like music production, mixing and mastering can increase revenue. Effective financial management and cost control are vital for long-term success.
4. How much does a professional home recording studio cost?
The cost of building a professional home recording studio varies widely depending on the desired level of quality and equipment. Core components such as a computer, audio interface and microphones can be purchased at different price points. Acoustic treatment, additional instruments and software can significantly increase the overall cost.